


Asphalt paving is a popular choice for residential and commercial property owners in Fresno, CA, due to its durability, cost-effectiveness, and quick installation time. As a top-notch asphalt contractor, we understand the importance of keeping our clients informed about the entire paving process. In this comprehensive guide, we’ll walk you through the step-by-step process of asphalt installation, from site preparation to the final sealcoat application.
Step 1: Site Evaluation and Preparation
Before any asphalt paving work can begin, a thorough site evaluation is essential. Our asphalt professionals will inspect the area to determine the required grading, drainage solutions, and the appropriate base materials. Proper site preparation is crucial to ensuring the longevity and performance of your asphalt surface.
During the site preparation phase, we’ll remove any existing pavement, vegetation, or debris. We’ll then grade the area to create the proper slope for water drainage, preventing potential damage to your asphalt surface.
Step 2: Installing the Aggregate Base Layer
A stable and well-compacted aggregate base is the foundation for long-lasting asphalt pavement. This base layer is typically made of crushed stone or gravel, providing a strong, supportive surface for the asphalt. Our skilled asphalt contractors will spread the aggregate evenly and compact it using specialized equipment to create a firm and level base.
Step 3: Applying the Asphalt Binder Layer
Once the aggregate base layer is in place, the asphalt binder layer is applied. This layer acts as a strong adhesive between the base and the top asphalt layer, ensuring a secure bond. The binder is made from a mixture of asphalt cement and aggregate materials. Our experienced team will spread the binder evenly across the prepared surface and compact it using a roller.
Step 4: Laying the Asphalt Surface Layer
The asphalt surface layer is a mixture of hot mix asphalt (HMA), which consists of asphalt cement, aggregate, and sand. This mixture is heated to a high temperature and transported to the job site, where our asphalt paving team will carefully spread it across the binder layer. The thickness of the asphalt surface layer depends on the specific requirements of your project, such as expected traffic loads and usage.
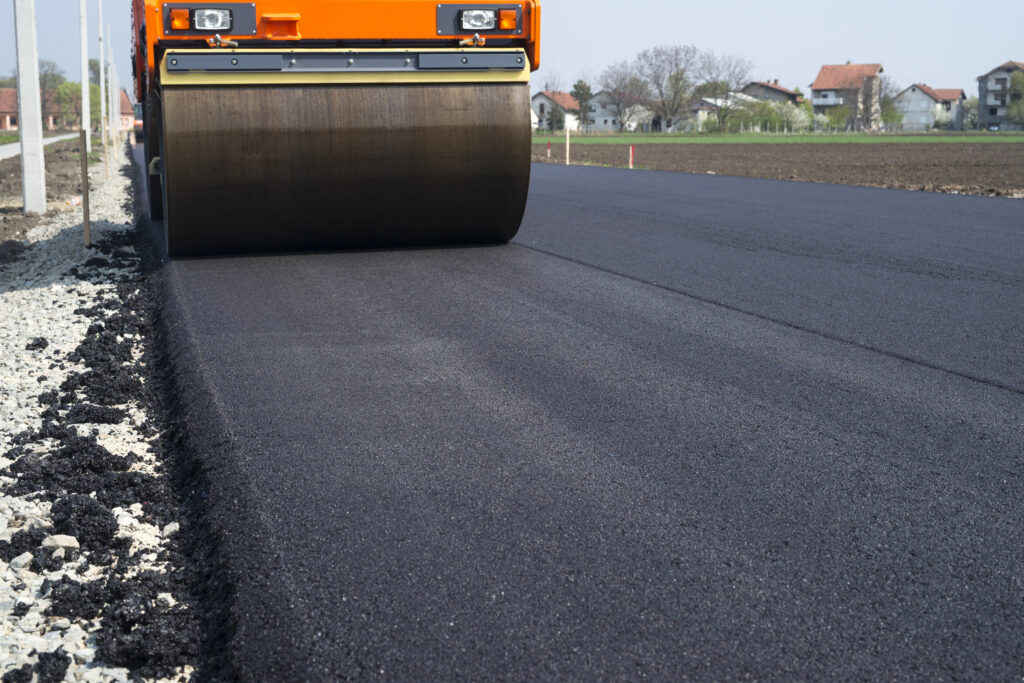
Step 5: Compacting the Asphalt Surface
Proper compaction of the asphalt surface layer is crucial for durability and longevity. Our team will use a roller to compact the surface, removing any air voids and ensuring a smooth, even finish. Proper compaction also helps to prevent water infiltration, which can lead to premature deterioration of your asphalt pavement.
Step 6: Cooling and Curing
Before the compacted asphalt surface is ready to handle any traffic, it needs time to cool and cure. This may require several hours to a full day, depending on the scope of the project and the outside conditions. To ensure the asphalt’s durability and strength, it is crucial to give it time to cure properly.
Step 7: Applying the Final Sealcoat
A protective sealcoat is applied as the final phase in the asphalt installation process. A sealcoat is a liquid mixture placed on the asphalt’s surface to protect it from water, UV rays, and other potential harm. This protective coating also improves the look of your pavement by providing a deep, black gloss. Our asphalt experts will apply the sealcoat with precision, ensuring an even and consistent coating.
Regular Maintenance for Asphalt Longevity
To keep your newly installed asphalt pavement in optimal condition, it’s essential to perform regular maintenance. Our asphalt experts recommend scheduling periodic inspections, crack sealing, and sealcoating to extend the life of your asphalt surface. Additionally, addressing any minor issues promptly can prevent them from becoming costly repairs in the future.
Choose a Reputable and Experienced Asphalt Contractor
When it comes to asphalt installation, selecting the right contractor is critical. Ensure you choose a reputable and experienced asphalt contractor with proper licensing, insurance, and a proven track record of successful projects. Asking for referrals, reading reviews, and reviewing past projects can help you make an informed decision and guarantee a high-quality result for your asphalt paving project.
At Anderson Striping & Construction Services, we pride ourselves on providing top-quality asphalt installation services for residential and commercial clients. By understanding the step-by-step process of asphalt paving, you can be confident that your project will be completed to the highest standards. From site preparation to the final sealcoat application, our experienced team is dedicated to delivering a durable, long-lasting, and visually appealing asphalt surface for your property.